Laga Sleeping mats
Fixing sleeping pads - at home or in the field
A soggy sleeping pad is one of the most common (and frustrating) injuries on tour. But the good news is that it can almost always be fixed, either directly on the mountain or more permanently when you get home. Often it's a small hole that's slowly leaking air, or a valve that's started to slip. With the right approach, you can get a repair that will last for a long time and make the surface turredo again.
Find the leak first
Start by inflating the sleeping pad properly and listening for pys. If you can't find the leak straight away, you can use soapy water and apply it to the suspected areas. Where it bubbles, the air is leaking. Once you've found the hole, mark the spot so you can quickly find your way back to it when you need to repair.
Repairing in the field - a quick solution to save the night
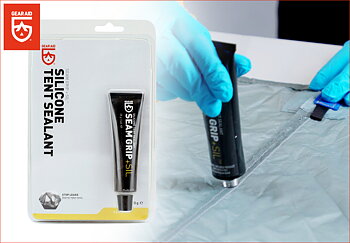
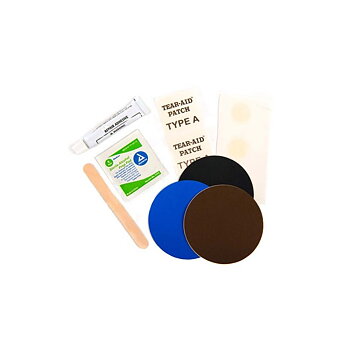
When you're on the road, it's usually a matter of getting a seal that holds well enough for you to sleep and continue using the surface for the rest of the trip. A patch or repair patch that sticks quickly is often the most convenient solution. Make sure the surface is as dry and clean as possible, press the patch firmly into place and give it some time before pumping up the surface again.
Patching at home - permanent patching that lasts over time
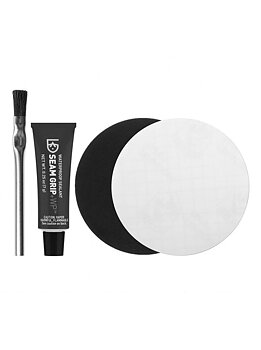
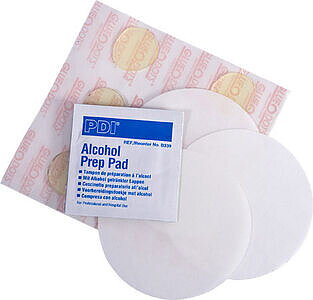
At home you have the opportunity to do the repair properly. This is where you get the best results because you can clean thoroughly, work in a dry environment and let everything cure without stress. Once you've found the hole, clean the area thoroughly and let it dry completely. Next, attach a patch using the appropriate adhesive or following the instructions from the repair kit. Press firmly and allow the patch to fully cure before inflating the substrate and testing.
If it's the valve that's leaking
Sometimes the problem is not in the cloth itself, but around the valve. It could be due to dirt, the gasket being misplaced, or the valve starting to loosen in its mounting. Start by cleaning the valve and checking that everything is in place. If the valve is cracked or loose around the edge, a valve replacement may be the best long-term solution. You will need the right spare part for your model and a method that provides a tight and durable fit.
Worth knowing before you repair
Most failed repairs are not due to the wrong product but to stress. The surface needs to be clean and dry, the patch should sit perfectly flat and the repair needs time to cure before the substrate is used again. If you do it carefully, you can often save a mat that otherwise feels "used up", and extend its life by many trips.